How to Unlock Bootloader, Install TWRP Recovery And Root Xiaomi POCO F1
You will be able to Learn How to Unlock Bootloader, Install TWRP Recovery And Root Xiaomi POCO F1. Today we are here with Detail guide on POCO F1.
ADVANTAGE
1. INSTALLING CUSTOM ROMS
After rooting yourPOCO F1. , you can flash a custom ROM or Kernel, which means you can have a new device.
2. REMOVE PREINSTALLED CRAPWARE
The manufacturer won’t allow you to uninstall those preinstalled apps on your POCO F1. Rooting a device can make them removed easily, which ensures a high running quality.
3. BLOCKING ADS IN ANY APPS
Sick of the pop-up ads when playing games? A rooted device can remove these annoying ads immediately.
4. INSTALL INCOMPATIBLE APPS
Some wonderful apps need the root access if you install them on your POCO F1. Root your phone, enjoy more apps.
5. KEEP LATEST ANDROID OS
A rooted Android can get the new OS months before the carrier releases the update, often along with a few bonus features.
6. CHANGE SKIN FOR YOUR ANDROID
As you can see, there is only 3 to 4 default skin on your POCO F1. to change. But if you root your phone and install the new ROMs, you can enjoy the customized and tweaked skins on your device.
7. BOOST YOUR ANDROID DEVICE’S SPEED AND BATTERY LIFE
Some powerful apps like Greenify can close the useless applications automatically, which can effectively improve your device’s performance. Of course, Greenify needs root access.
8. MAKE COMPLETE BACKUPS OF YOUR POCO F1
An unrooted Android phone can only backup some settings and apps for your device. Titanium can be used on a rooted device to give you a complete backup.
HOW TO INSTALL TWRP RECOVERY AND ROOT ONEPLUS 6
DISADVANTAGE
1. ROOT CAN BRICK YOUR POCO F1
Compared with an unrooted Android device, the rooted one faces a common threat from mis-operation and sometimes you may turn your Android device into a brick.
Avoid this risk: Just download apps from a reliable place like Google play, and, do not delete the files if the files are suggested not to delete by rooting apps.
2. SAY GOOD-BYE TO THE WARRANTY
The Android device manufacturers will not cover the damage after you rooting your POCO F1. For some brand, we can unroot the device after rooting, so, the manufacturers don’t know if you have rooted your Android device or not. But to make matters worse, Android device manufacturers also go to great lengths to know if your POCO F1. has been rooted!
3. PROBLEMS WITH UPDATES
Sometimes you root the Android phone to get latest OS but after rooting, you may find that the automatic updates to the firmware stopped. Updates fail to install due to software modifications that occurred while the distribution has been rooted.
HOW TO INSTALL TWRP RECOVERY AND ROOT OPPO REALME 1
BACKUP YOUR POCO F1 TO PC BEFORE ROOTING
- Connect your POCO F1 to a Windows computer.
- Click on the Open folder to view files option when AutoPlay popup on the PC.
- Copy and paste the files and folders you want from Android phone to the PC.
Pre-requisites before you Root POCO F1
- This Guide is only for Oneplus 6 so don’t try this on any other device as this can brick your phone.
- Make sure your Phone has charged 60%.
- Now make a backup of all important files and contacts.
- That’s all!! Now you can Follow the procedure to root oneplus 6 without PC.
UNLOCK BOOTLOADER ON POCO F1
- Power off your phone.
- Press and hold the Volume Up and Power button together on your smartphone until it boots into fastboot mode.
- Connect it to your PC via a USB cable and make sure the cable has been connected properly.
- Now go to the ADB installation folder on your PC.(C:\Program Files (x86)\Minimal ADB and Fastboot)
- Type in cmd in the address bar and hit enter to open a command prompt window in the folder.
- Now let’s see if your device is properly connected to your PC. To do this, type the command given below and hit enter.
fastboot devices
- If your device is connected, you will see your phone’s serial number and if you don’t, you should check if you have installed all the required drivers.
- Type the command below to unlock your bootloader if your device is detected. Remember this will wipe everything on your POCO F1.
fastboot oem unlock
- On your phone, you will be warned about unlocking the bootloader, press the Volume Up button to highlight Yes and the Power button to select it.
- When your device reboots, power it off again and boot into recovery mode. To do this, press and hold the Power and Volume Down buttons together for a few seconds.
- In the stock OnePlus recovery, wipe all user data and then power off your device again.
Install TWRP Custom Recovery on Xiaomi POCO F1
- Post unlocking the bootloader, you require installing TWRP Custom Recovery on your device. Please download.
- the TWRP recovery for Xiaomi Poco F1 and rename the same to ‘recovery.img’ and transfer the same to the folder where you have installed ADB and Fastboot on your PC.
- Make sure your device is connected to the PC.
- Navigate to the ADB & Fastboot installation folder and press Shift + Right Click. From the pop-up menu select the option ‘Open Command Window Here.’
- Enter the following command to reboot your device into fastboot or bootloader mode.
adb reboot bootloader - Next, enter the following command to flash install TWRP Custom Recovery on Xiaomi POCO F1 device.
fastboot flash recovery .img - That’s it! TWRP Custom Recovery will get installed on your device now.
Root Xiaomi POCO F1
- You have downloaded the SuperSU ZIP file in the beginning. Please transfer the same to the internal memory of your device.
- Next, press and hold the button combination of Volume Up + Power to reboot your device into recovery mode.
- The TWRP menu will come in front of you. From the options select ‘Install’ and select the SuperSU ZIP file utilizing the browse option.
- Swipe to flash the SuperSU ZIP File on your Xiaomi POCO F1 device.
- Once the flashing process is done please reboot your device.
- That’s it! Your device is rooted now.
I hope to use to understand all tutorial on How to Unlock Bootloader, Install TWRP Recovery And Root Xiaomi POCO F1. If you have any problem then ask in the comment box. We can solve your problem.
If you liked this post share it on social (Facebook, Twitter, GooglePlus) media and consider checking out our other blog posts to stay updated with the latest Tech Content!

In the ever-evolving world of smartphone technology, convenience and efficiency are paramount. Samsung, as a leader in innovation, recognizes this and offers users the incredible swipe-to-type and cursor control feature on its keyboard. This intuitive functionality allows you to effortlessly glide your finger across the keyboard, spelling out words with remarkable ease, or precisely navigate through text using a cursor.
This guide will be your key to unlocking the potential of these features, showing you how to enable swipe-to-type and cursor control on your Samsung keyboard. By delving into your device’s settings, you will discover the simple, yet powerful steps needed to harness these capabilities. Whether you’re a fan of swift, gesture-based typing or require pinpoint accuracy in editing text, Samsung’s keyboard offers you the tools to customize your digital communication experience. Join us as we explore the intricacies of enabling swipe-to-type and cursor control, elevating your typing and editing skills to new heights.
Enable the swipe to type or cursor control feature on Samsung keyboard
- Open the Settings menu, scroll down, and tap on the General management option.
- Then, tap on Keyboard list and default.
- Now, click on the Samsung Keyboard option.
- Here, scroll down and tap on the Swipe, touch, and feedback option.
- Click on the Keyboard swipe controls option.
- Finally, you can turn on the Swipe to type or Cursor control feature.
We hope that this article has been able to provide you with some helpful tips and tricks for How to enable the swipe to type or cursor control feature on Samsung keyboard. Now you can share your experiences or capture important information without any hassle!

In today’s fast-paced digital world, content creation has become a crucial aspect of communication.
Whether you’re a business owner, educator, or content creator, the ability to generate engaging audio and video content is crucial.
That’s where Fliki AI steps in, offering a seamless solution to transform text into captivating videos and lifelike speech.
In this blog post, we’ll dive into the world of
Unveiling Fliki AI: Transforming Text to Videos and Speech

Fliki AI is a cutting-edge text-to-video and text-to-speech creator that empowers individuals and businesses to craft high-quality multimedia content within minutes.
It’s designed to bridge the gap between text-based information and dynamic audiovisual presentations.
With Fliki AI, you can bid farewell to the complexities of video editing and laborious voiceovers. Whether you’re explaining complex concepts, narrating stories, or presenting information, Fliki AI has you covered.
How to Start Your Fliki AI Free Trial: Easy Step-by-Step Guide
Getting started with Fliki AI’s free trial is a breeze! Follow these simple steps to activate your trial and begin exploring the fantastic features it offers.
Step 1: Click on the special link provided to access the right page for activating your free trial.
Step 2: Look at the picture below and tap the “signup for free” button.

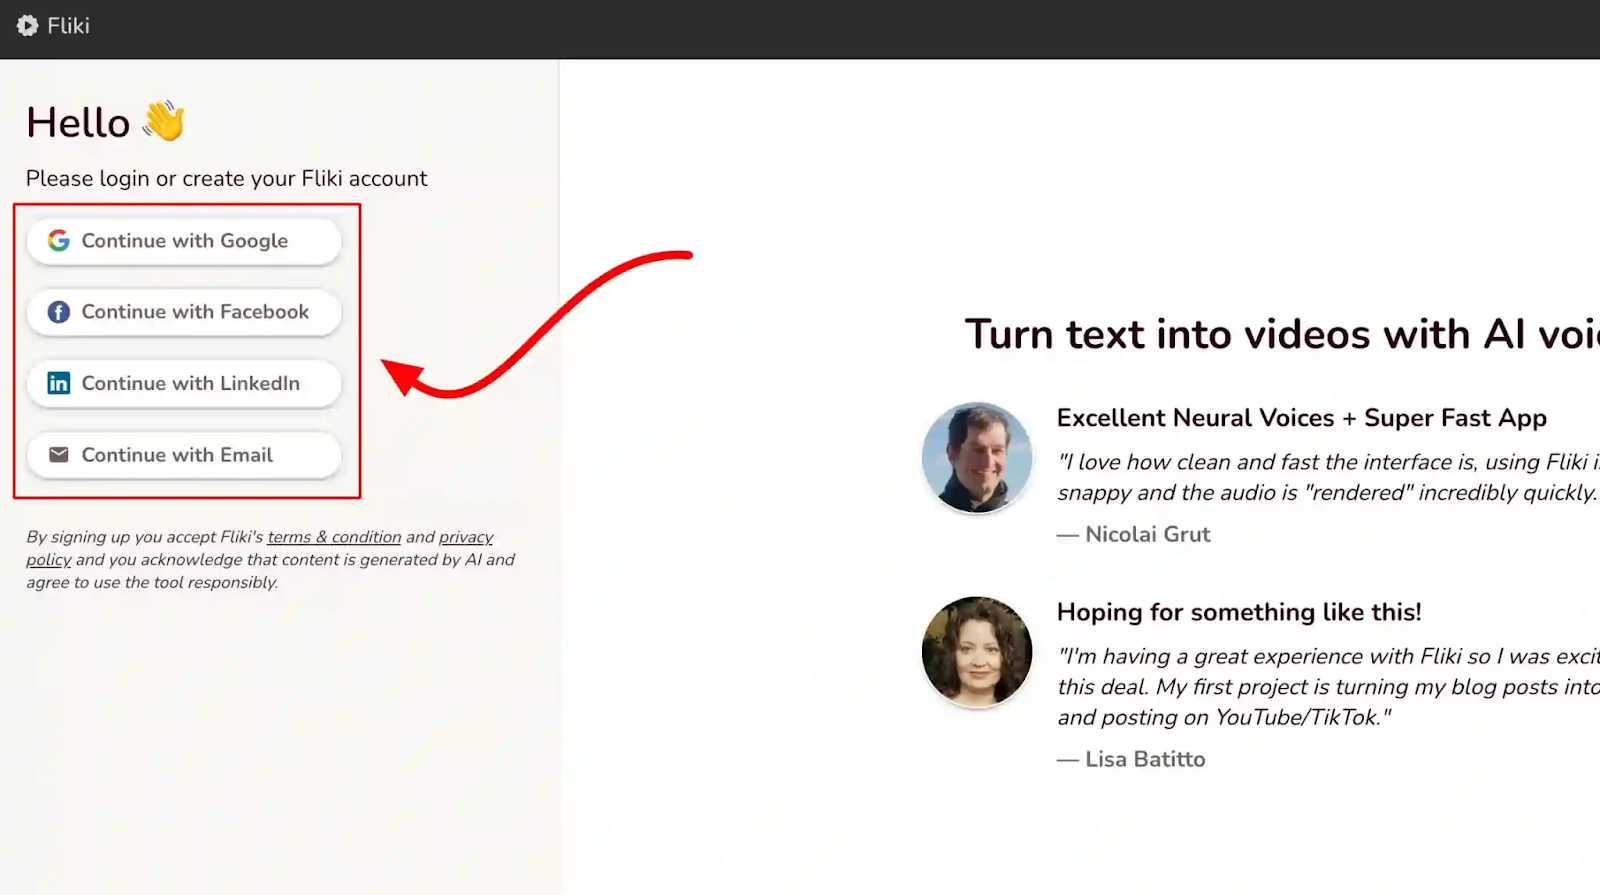
Step 3: On the left side, you’ll see options to either log in if you already have an account or create a new account. Choose one and sign in.
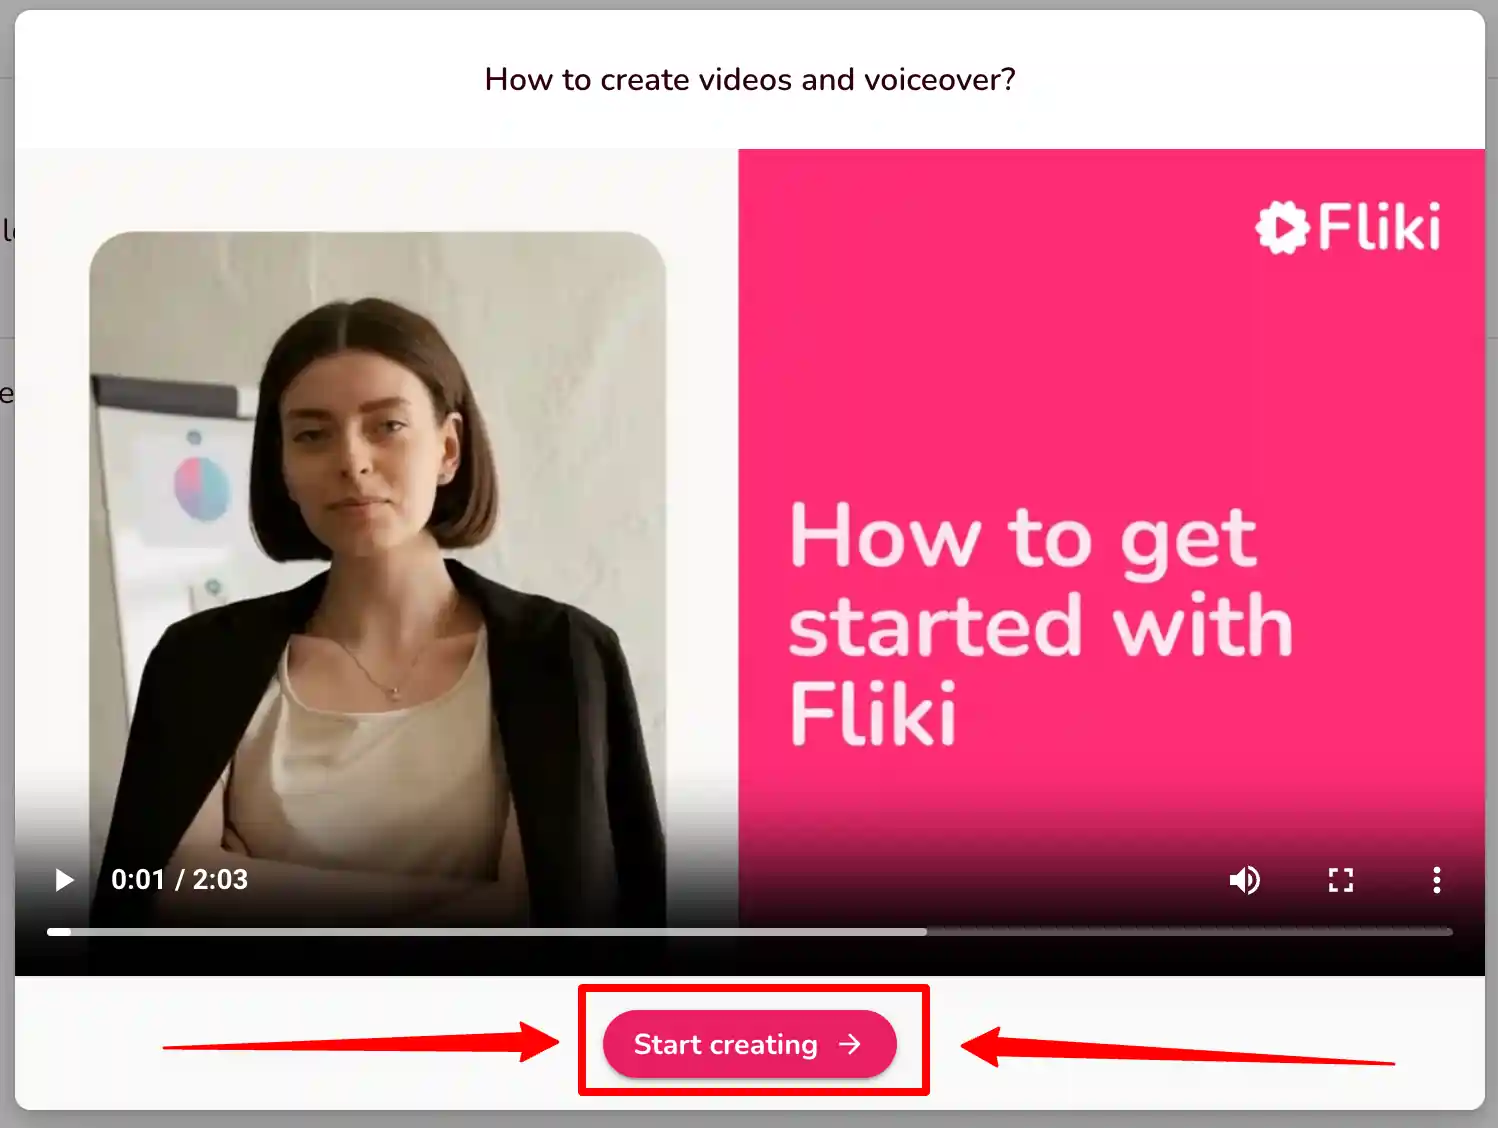
Step 4: Click the “start creating” button.
Congratulations! You’re all set to use Fliki AI’s Free Trial without any charges.
The best part is, you don’t need to provide any credit card information to activate the free trial, and there’s no limit to how much you can try it out.
The Power of Fliki AI Features:

Effortless Text-to-Video Conversion: Fliki AI streamlines the process of turning your written content into captivating videos. Simply input your text, and Fliki AI works its magic by generating engaging visuals that complement your message.
Natural Text-to-Speech: With its advanced text-to-speech capabilities, Fliki AI offers a range of natural-sounding voices to choose from. Your content will come to life with human-like intonation, making it more relatable and engaging for your audience.
User-Friendly Interface: Fliki AI boasts a user-friendly interface that requires no technical expertise. It’s designed for everyone, regardless of their familiarity with video editing or audio production.
Customization Options: Customize your videos with a variety of styles, fonts, and layouts to match your brand’s identity. Tailor your content to resonate with your target audience effectively.
Library of Visuals: Access a vast library of images and animations to enhance your videos further. Fliki AI ensures that your content is visually appealing and professional.
Founder’s Vision: Empowering Content Creation
Behind Fliki AI’s innovation stands Sabir Ahmed and Atul Yadav, visionary entrepreneurs who recognized the need for simplifying content creation.
Their vision was to provide individuals and businesses with a tool that democratizes multimedia content production, enabling anyone to communicate their ideas effectively.
The founder’s dedication to democratizing content creation aligns with Fliki AI’s core mission: to break down barriers and empower people to share their stories, products, and knowledge through visually appealing videos and compelling voiceovers.
Unlock Your Creative Potential: Start Your Fliki Free Trial
Experience the magic of Fliki AI firsthand by taking advantage of the free trial.
This risk-free opportunity allows you to explore the features, create your own videos, and witness the transformation of your text into engaging multimedia content. Embark on a journey of seamless content creation with Fliki AI today!
Conclusion: Fliki AI Free Trial
In a world where content speaks volumes, Fliki AI emerges as a game-changing solution for crafting impactful videos and voiceovers effortlessly.
With its intuitive interface, versatile features, and commitment to democratizing content creation, Fliki AI empowers both seasoned creators and novices to share their narratives in a captivating manner.
Don’t miss out on the chance to explore Fliki AI’s potential
In the realm of smartphone customization, the ability to adapt even the tiniest details can significantly enhance your digital experience. The size of your keyboard, for instance, plays a crucial role in your typing comfort and efficiency. Samsung, a pioneer in user-centric innovations, has provided a solution that allows you to tailor the keyboard size according to your preferences. This guide will walk you through the steps required to seamlessly adjust the size of the Samsung Keyboard, putting the power of personalization in your hands.
By exploring your device’s settings, you’ll uncover the means to resize the keyboard, whether you’re looking to maximize screen real estate for larger keys or seeking a compact layout for one-handed usage. Whether you’re a swift typist or someone who values precision, this functionality empowers you to fine-tune your interaction with your Samsung smartphone. Join us as we delve into the intricacies of resizing the Samsung keyboard, and unlock a new level of comfort and efficiency in your digital communication.
Adjust the size of the Samsung Keyboard
- Open the Settings menu, scroll down, and tap on the General management option.
- Then, tap on Keyboard list and default.
- Now, click on the Samsung Keyboard option.
- Here, scroll down and tap on Size and transparency.
- Finally, you can drag the handles on the sides of the keyboard to adjust its size.
We hope that this article has been able to provide you with some helpful tips and tricks for How to adjust the size of the Samsung Keyboard. Now you can share your experiences or capture important information without any hassle!
Pingback: How to create a good password - No one will be able to Hack - Android Result
Pingback: Poco F1 MIUI 10.2.2.0 Stable Update brings Low-light mode, Slow-motion video recording and more