15 ASUS Zenfone Max M1 Hidden Features, Useful Tips and Tricks
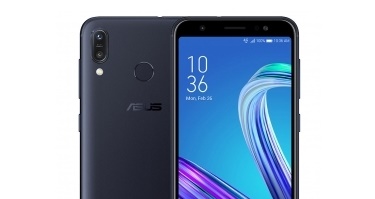
You will be able to Learn top ASUS Zenfone Max M1 Hidden Features, Useful Tips and Trick That You Must Check Out. Today we are here with Detail guide on ASUS Zenfone Max M1. As we all know, it’s not the hardware specs alone that define a phone. The software also plays an important role in making it a complete experience.
Specs
- Display – 5.45-inch
- Processor – quad-core
- Front Camera – 8-megapixel
- Resolution – 720×1440 pixels
- RAM – 3GB
- OS – Android 8.1 Oreo
- Storage – 32GB
- Rear Camera – 13-megapixel
- Battery Capacity – 4000mAh
Hidden Features
1. Wireless Casting Using Zenfone Max M1
As per today, all the upcoming Android Smartphone come pre-installed with screencasting feature. You can use it directly from the Notification Panel or simply head to Settings >> Connected Devices >> Cast.
2. Change Font size
Some of the accessibility options like changing Font Size are also present in display settings. So, if you prefer bigger fonts that are lighter on your eyes, you can go to Settings>>Display>>Advanced>> Font Size and increase or decrease them using a slider.
3. Set Night Light Schedule?
You can schedule the phone to automatically turn on the ‘night light’ mode that adjusts the screen settings for better viewing in dark conditions. It actually decreases the display brightness and filters the blue light. While you can go for custom time or choose the sunset to sunrise.
4. Show battery percentage in the Status bar
The Zenfone Max M1 has a 4000mAh power unit, big enough to drive all battery anxieties. However, it’s still convenient to check exactly how much you have remaining in the tank.
16 Best WhatsApp Hidden Feature, Tips, and Tricks
5. Gestures on Asus Zenfone Max M1
Using gestures directly from your Home Screen increases your productivity offering you to use your 2018s phone efficiently. Although having gestures is not a thing to brag about but they do get handy quite a time like drawing gestures to open an app or for quick action like Torch and more.
To enable gestures, go to Settings >> System >> Gestures >> ZenMotion and toggle on each action to enable the gestures on the dark screen. Now every you want to open an app quickly, draw the Alphabet you chose and the app/action will be done.
6.Google Assistant on Zenfone Max M1
Google Assistant comes in-built with every android phone now and is an excellent feature to perform multiple tasks via your Voice Commands. However, to use the Assistant, you will have to activate it first. To activate, long press the home button and follow the shown instruction to enable it
7. Quickly Turn On the Camera?
As seen on many Android smartphones, double-clicking the power button will quickly open the camera app. It works even when the smartphone is locked.
How to Keep your Facebook account safe and secure in 2018
8. Camera Shortcut
Like Gestures to use Apps directly from the locked screen of your Phone, you can also directly jump to Camera if you want to capture some quickies. This feature lets you quickly open camera by pressing the Power Button Twice
The “Jump to Camera” feature is enabled by default on Zenfone Handsets, if not you can go to Settings >> System >> Gestures >> Jump to Camera to enable it.
9. Turn on Battery Saver Automatically
You can set Asus Zenfone Max M1 to automatically turn on battery saver mode automatically when you are running out of battery juice.
To do so, go to Settings>> Battery. Tap on Battery saver option (without toggling it On). Now tap on Turn on Automatically and choose when you’d like the power saver mode to kick in (at 5%, 15%, or never).
10. Customize the Notifications Panel?
While the notification panel will be filled with certain shortcuts by default, you can always replace them with whatever app shortcuts you want. First, pull down the notifications panel and tap on the edit (pencil) icon. Now, you have to press and hold the required shortcuts and place them in the top list.
11. Enable Split Screen Mode on Zenfone Max M1?
Just tap on the Overview button and drag the required app to the top of the screen. While the upper half is now filed with the dragged app, now select the other app for perfect multitasking.
51 Google Search Tricks and Secrets That’ll Change the Way You Search
12. Remove Vibration in Keyboard and on Navigation buttons
If you don’t want your phone to return haptic feedback every time you press a navigation button or whenever you type using the keyboard, you can turn the vibration off. To do so, go to Settings > Sound > advanced and toggle off ‘Vibrate on Press’.
13. Use Screen Pinning Feature?
The user can use the screen pinning feature to lock that certain app. To come out of the app, the user has to enter the password. You can enable this feature from the settings menu. Once enabled, you have to open the app you want to pin. Now, tap on the overview button and again tap on the pin icon. To unpin the screen, you have to tap on the overview and back buttons at the same time.
14. Quickly Switch to the Previously Used App
Switching quickly to the previous app is very convenient when needed. You can quickly switch to the app by double tapping the “recent apps” button and it will switch to the previously opened app.
OK Google: 11 Useful Things You Can Say to Your Android Phone
15. Change default apps
To change default apps on Zenfone Max M1, go to Settings>> Apps & Notification>> Advanced and select default apps.
From here, you can change already set default app preferences. From the same menu, you can also decide which app you’d want to open links that you encounter within other apps.
I hope to use to understand all article on Zenfone Max M1 Hidden Features. If you have any problem then ask in the comment box. We can solve your problem.
If you liked this post share it on social (Facebook, Twitter, GooglePlus, Instagram, LinkedIn, Tumblr) media and consider checking out our other blog posts to stay updated with the latest Tech Content!

In the ever-evolving world of smartphone technology, convenience and efficiency are paramount. Samsung, as a leader in innovation, recognizes this and offers users the incredible swipe-to-type and cursor control feature on its keyboard. This intuitive functionality allows you to effortlessly glide your finger across the keyboard, spelling out words with remarkable ease, or precisely navigate through text using a cursor.
This guide will be your key to unlocking the potential of these features, showing you how to enable swipe-to-type and cursor control on your Samsung keyboard. By delving into your device’s settings, you will discover the simple, yet powerful steps needed to harness these capabilities. Whether you’re a fan of swift, gesture-based typing or require pinpoint accuracy in editing text, Samsung’s keyboard offers you the tools to customize your digital communication experience. Join us as we explore the intricacies of enabling swipe-to-type and cursor control, elevating your typing and editing skills to new heights.
Enable the swipe to type or cursor control feature on Samsung keyboard
- Open the Settings menu, scroll down, and tap on the General management option.
- Then, tap on Keyboard list and default.
- Now, click on the Samsung Keyboard option.
- Here, scroll down and tap on the Swipe, touch, and feedback option.
- Click on the Keyboard swipe controls option.
- Finally, you can turn on the Swipe to type or Cursor control feature.
We hope that this article has been able to provide you with some helpful tips and tricks for How to enable the swipe to type or cursor control feature on Samsung keyboard. Now you can share your experiences or capture important information without any hassle!

In today’s fast-paced digital world, content creation has become a crucial aspect of communication.
Whether you’re a business owner, educator, or content creator, the ability to generate engaging audio and video content is crucial.
That’s where Fliki AI steps in, offering a seamless solution to transform text into captivating videos and lifelike speech.
In this blog post, we’ll dive into the world of
Unveiling Fliki AI: Transforming Text to Videos and Speech
Fliki AI is a cutting-edge text-to-video and text-to-speech creator that empowers individuals and businesses to craft high-quality multimedia content within minutes.
It’s designed to bridge the gap between text-based information and dynamic audiovisual presentations.
With Fliki AI, you can bid farewell to the complexities of video editing and laborious voiceovers. Whether you’re explaining complex concepts, narrating stories, or presenting information, Fliki AI has you covered.
How to Start Your Fliki AI Free Trial: Easy Step-by-Step Guide
Getting started with Fliki AI’s free trial is a breeze! Follow these simple steps to activate your trial and begin exploring the fantastic features it offers.
Step 1: Click on the special link provided to access the right page for activating your free trial.
Step 2: Look at the picture below and tap the “signup for free” button.

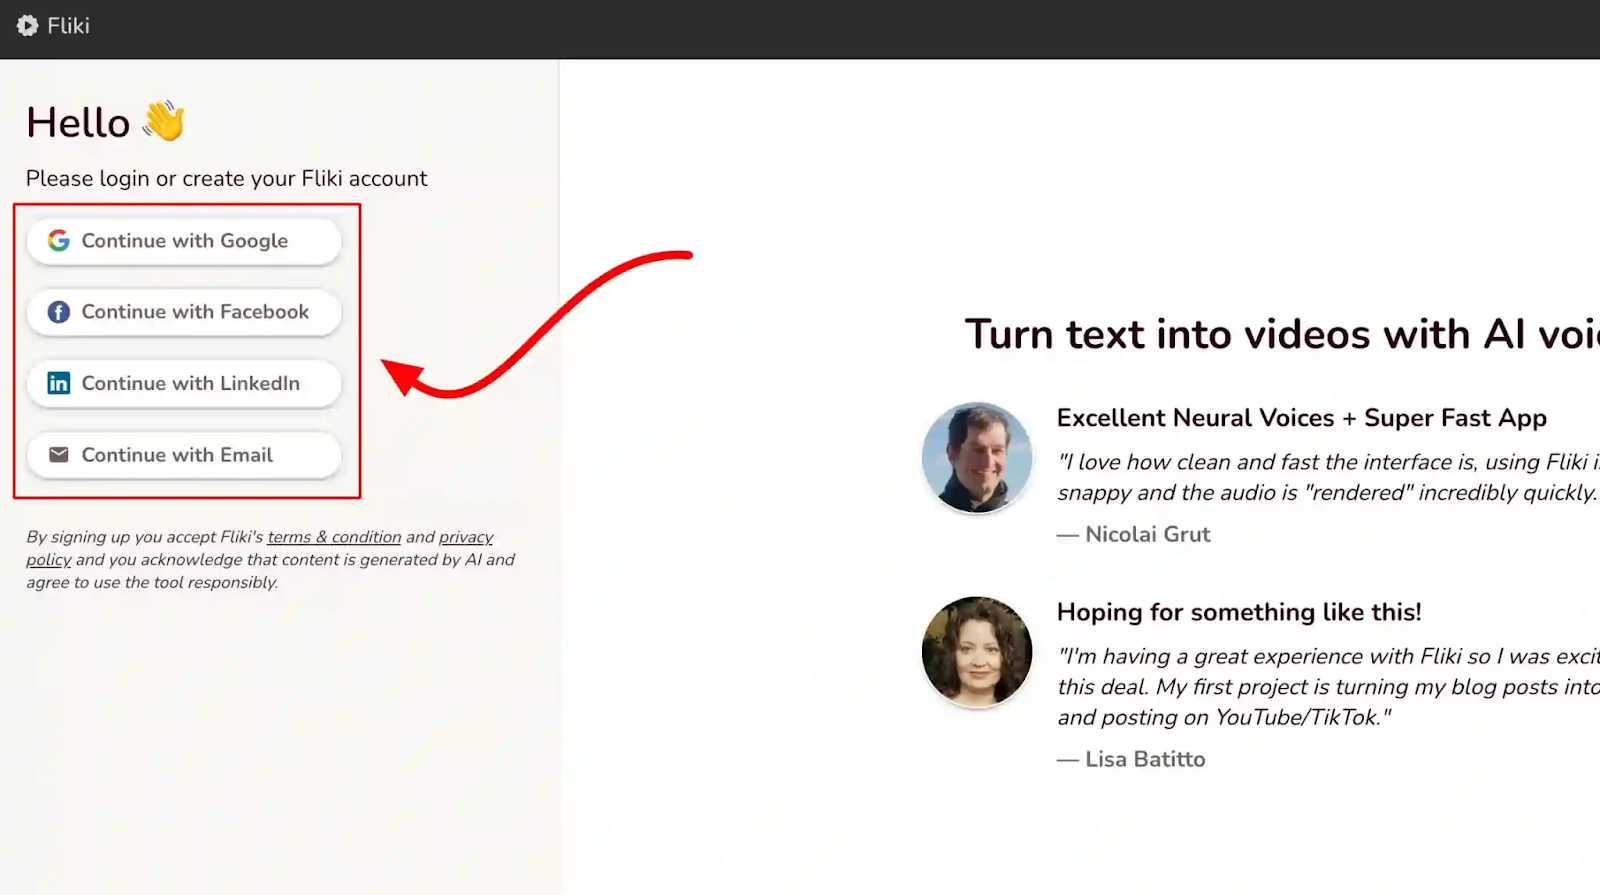
Step 3: On the left side, you’ll see options to either log in if you already have an account or create a new account. Choose one and sign in.
Step 4: Click the “start creating” button.
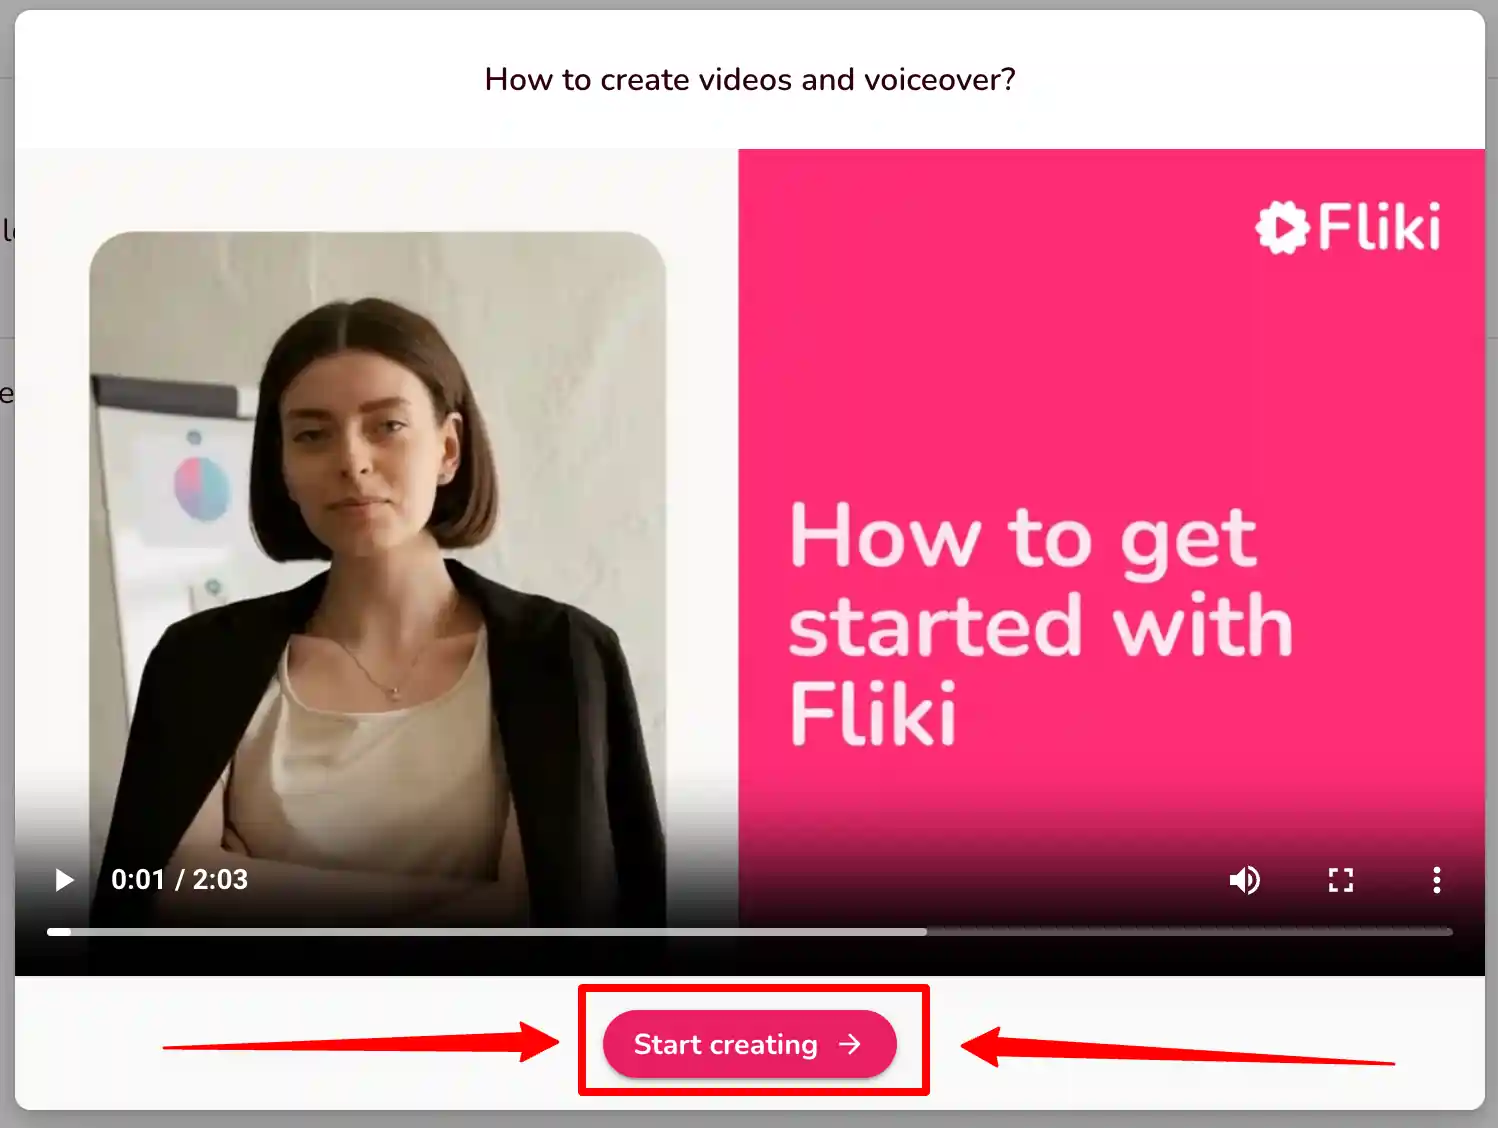
Congratulations! You’re all set to use Fliki AI’s Free Trial without any charges.
The best part is, you don’t need to provide any credit card information to activate the free trial, and there’s no limit to how much you can try it out.
The Power of Fliki AI Features:

Effortless Text-to-Video Conversion: Fliki AI streamlines the process of turning your written content into captivating videos. Simply input your text, and Fliki AI works its magic by generating engaging visuals that complement your message.
Natural Text-to-Speech: With its advanced text-to-speech capabilities, Fliki AI offers a range of natural-sounding voices to choose from. Your content will come to life with human-like intonation, making it more relatable and engaging for your audience.
User-Friendly Interface: Fliki AI boasts a user-friendly interface that requires no technical expertise. It’s designed for everyone, regardless of their familiarity with video editing or audio production.
Customization Options: Customize your videos with a variety of styles, fonts, and layouts to match your brand’s identity. Tailor your content to resonate with your target audience effectively.
Library of Visuals: Access a vast library of images and animations to enhance your videos further. Fliki AI ensures that your content is visually appealing and professional.
Founder’s Vision: Empowering Content Creation
Behind Fliki AI’s innovation stands Sabir Ahmed and Atul Yadav, visionary entrepreneurs who recognized the need for simplifying content creation.
Their vision was to provide individuals and businesses with a tool that democratizes multimedia content production, enabling anyone to communicate their ideas effectively.
The founder’s dedication to democratizing content creation aligns with Fliki AI’s core mission: to break down barriers and empower people to share their stories, products, and knowledge through visually appealing videos and compelling voiceovers.
Unlock Your Creative Potential: Start Your Fliki Free Trial
Experience the magic of Fliki AI firsthand by taking advantage of the free trial.
This risk-free opportunity allows you to explore the features, create your own videos, and witness the transformation of your text into engaging multimedia content. Embark on a journey of seamless content creation with Fliki AI today!
Conclusion: Fliki AI Free Trial
In a world where content speaks volumes, Fliki AI emerges as a game-changing solution for crafting impactful videos and voiceovers effortlessly.
With its intuitive interface, versatile features, and commitment to democratizing content creation, Fliki AI empowers both seasoned creators and novices to share their narratives in a captivating manner.
Don’t miss out on the chance to explore Fliki AI’s potential
In the realm of smartphone customization, the ability to adapt even the tiniest details can significantly enhance your digital experience. The size of your keyboard, for instance, plays a crucial role in your typing comfort and efficiency. Samsung, a pioneer in user-centric innovations, has provided a solution that allows you to tailor the keyboard size according to your preferences. This guide will walk you through the steps required to seamlessly adjust the size of the Samsung Keyboard, putting the power of personalization in your hands.
By exploring your device’s settings, you’ll uncover the means to resize the keyboard, whether you’re looking to maximize screen real estate for larger keys or seeking a compact layout for one-handed usage. Whether you’re a swift typist or someone who values precision, this functionality empowers you to fine-tune your interaction with your Samsung smartphone. Join us as we delve into the intricacies of resizing the Samsung keyboard, and unlock a new level of comfort and efficiency in your digital communication.
Adjust the size of the Samsung Keyboard
- Open the Settings menu, scroll down, and tap on the General management option.
- Then, tap on Keyboard list and default.
- Now, click on the Samsung Keyboard option.
- Here, scroll down and tap on Size and transparency.
- Finally, you can drag the handles on the sides of the keyboard to adjust its size.
We hope that this article has been able to provide you with some helpful tips and tricks for How to adjust the size of the Samsung Keyboard. Now you can share your experiences or capture important information without any hassle!